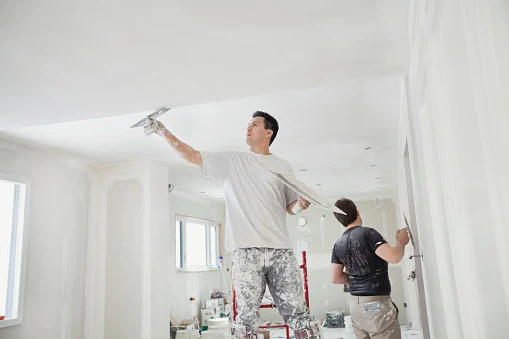
Step 1 : Prepare the surface
At first, prepare the surface that you want to plaster and remove any wallpaper or loose paint. And scrape away any bumps or irregularities if there are any. After that if there are any particular rough surfaces present then sand it down to make the surface smooth and clean. Make sure the surface is clean and dry before you start plastering.
Step 2 : Mix the plaster
After preparing the surface, mix the plaster following the manufacturer's instructions for the correct water-to-plaster ratio. Then mix the plaster using a clean bucket and a paddle mixer until it's smooth and lump-free. To avoid the wastage, you should only mix the amount of plaster you are going to use within the recommended time frame.
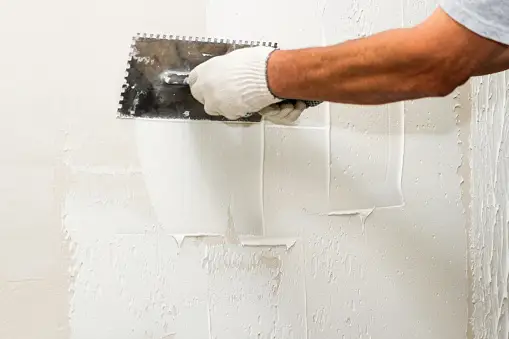
Step 3: Apply the plaster
Once the plaster is mixed well, you can start applying the plaster to the surface. Initially, only apply a thin coat of plaster with a plastering trowel and spread the plaster evenly across the surface. Make sure that you cover any gaps or holes. For a good result plaster the surface from the bottom of the wall to the top.
Step 4: Skim the plaster
Make sure that the first coat of plaster has dried and then you can apply a second thinner coat which is called skimming. It helps to even out any bumps or lumps that in the first coat. Then apply the second coat as the first coat using a wider trowel to make the plaster thinner.
Step 5: Smooth the plaster
After the second coat has dried, smooth the plaster using a damp sponge or a plasterer's float. To do so, wet the sponge or float and then use it to smooth out any bumps or lumps in the plaster. Smooth the wall from bottom to top and remember to rinse the sponge reqularly.
Step 6: Finish the plaster
After the plaster has completely dried, use a fine-grit sandpaper to sand out any rough spots. And to give a proper finishing you can add a coat of paint or wallpaper to finish the surface.
Tips for successful plastering:
- Work rapidly but cautiously. Because plaster hardens quickly, you must work swiftly.
- Maintain the cleanliness of your instruments. Clean tools result in smoother plastering.
- Begin by practicing on a small scale. If you're new to plastering, start with a tiny portion of wall or ceiling.
- Take as many breaks as you need. Plastering can be physically taxing, so take breaks as needed.
To summarize, plastering is a skill that requires time and experience to acquire. Following these procedures and advice will have you successfully plastering your walls and ceilings. Also, you can contact East Star Plastering for any kind of plastering services.